We know that with octoprint we can easily get the time-lapse we need.
However, 3d resin printing is completely different from FDM printing. But the octoprint doesn't support 3d resin printers, which also means that the way of time-lapse photography of 3d resin is different.
So I googled and to my surprise, I found a similar video:
https://www.youtube.com/watch?v=u0XijsT_rPc&t=331s
This really got me so excited because I have a Sony remote shutter kit on hand already.
I'm using a Sony A7R4 mirrorless camera, theoretically, this method should work for other brands and models too (If you can find your camera's remote shutter kit then you can use this method).
My plan:
Take apart my remote shutter switch and see what's inside
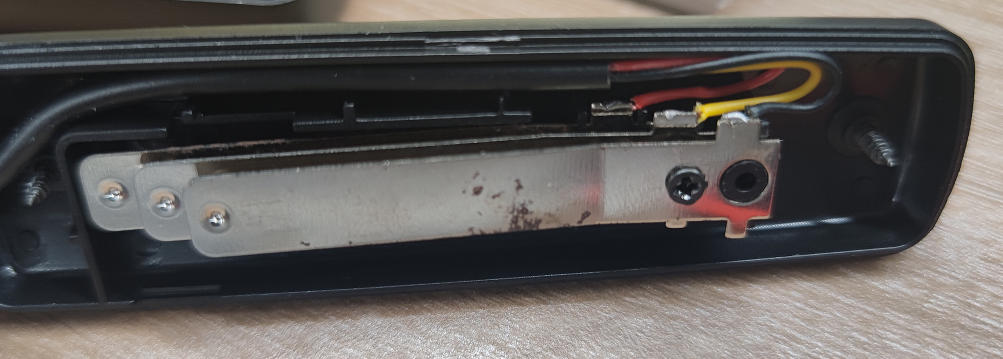
Buy a photoresistor and the corresponding cable. When it is under light and dark situations, the resistance of the photoresistor is different. This will make the circuit form an on-off mode, and then it is equivalent to pressing the shutter once. When each layer is exposed, the circuit will be under the on mode, and my mirrorless camera will take a photo
Since I don't know which type of photoresistor is more suitable, I bought GL5506/GL5516/GL5528/GL5537/GL5539 at one time.
(Note: Among the GL5506 and GL5516, please choose GL5506, this is the most suitable)
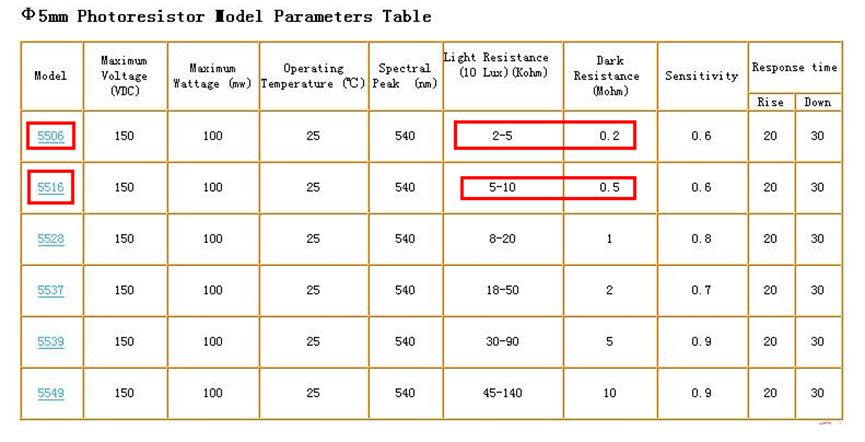
- I would first use the GL5506 to solder to the cable and then test. But I don't know which type will be the best fit. So I decided to use a cable with an XH2.54 2-pin connector so that I can easily replace it.
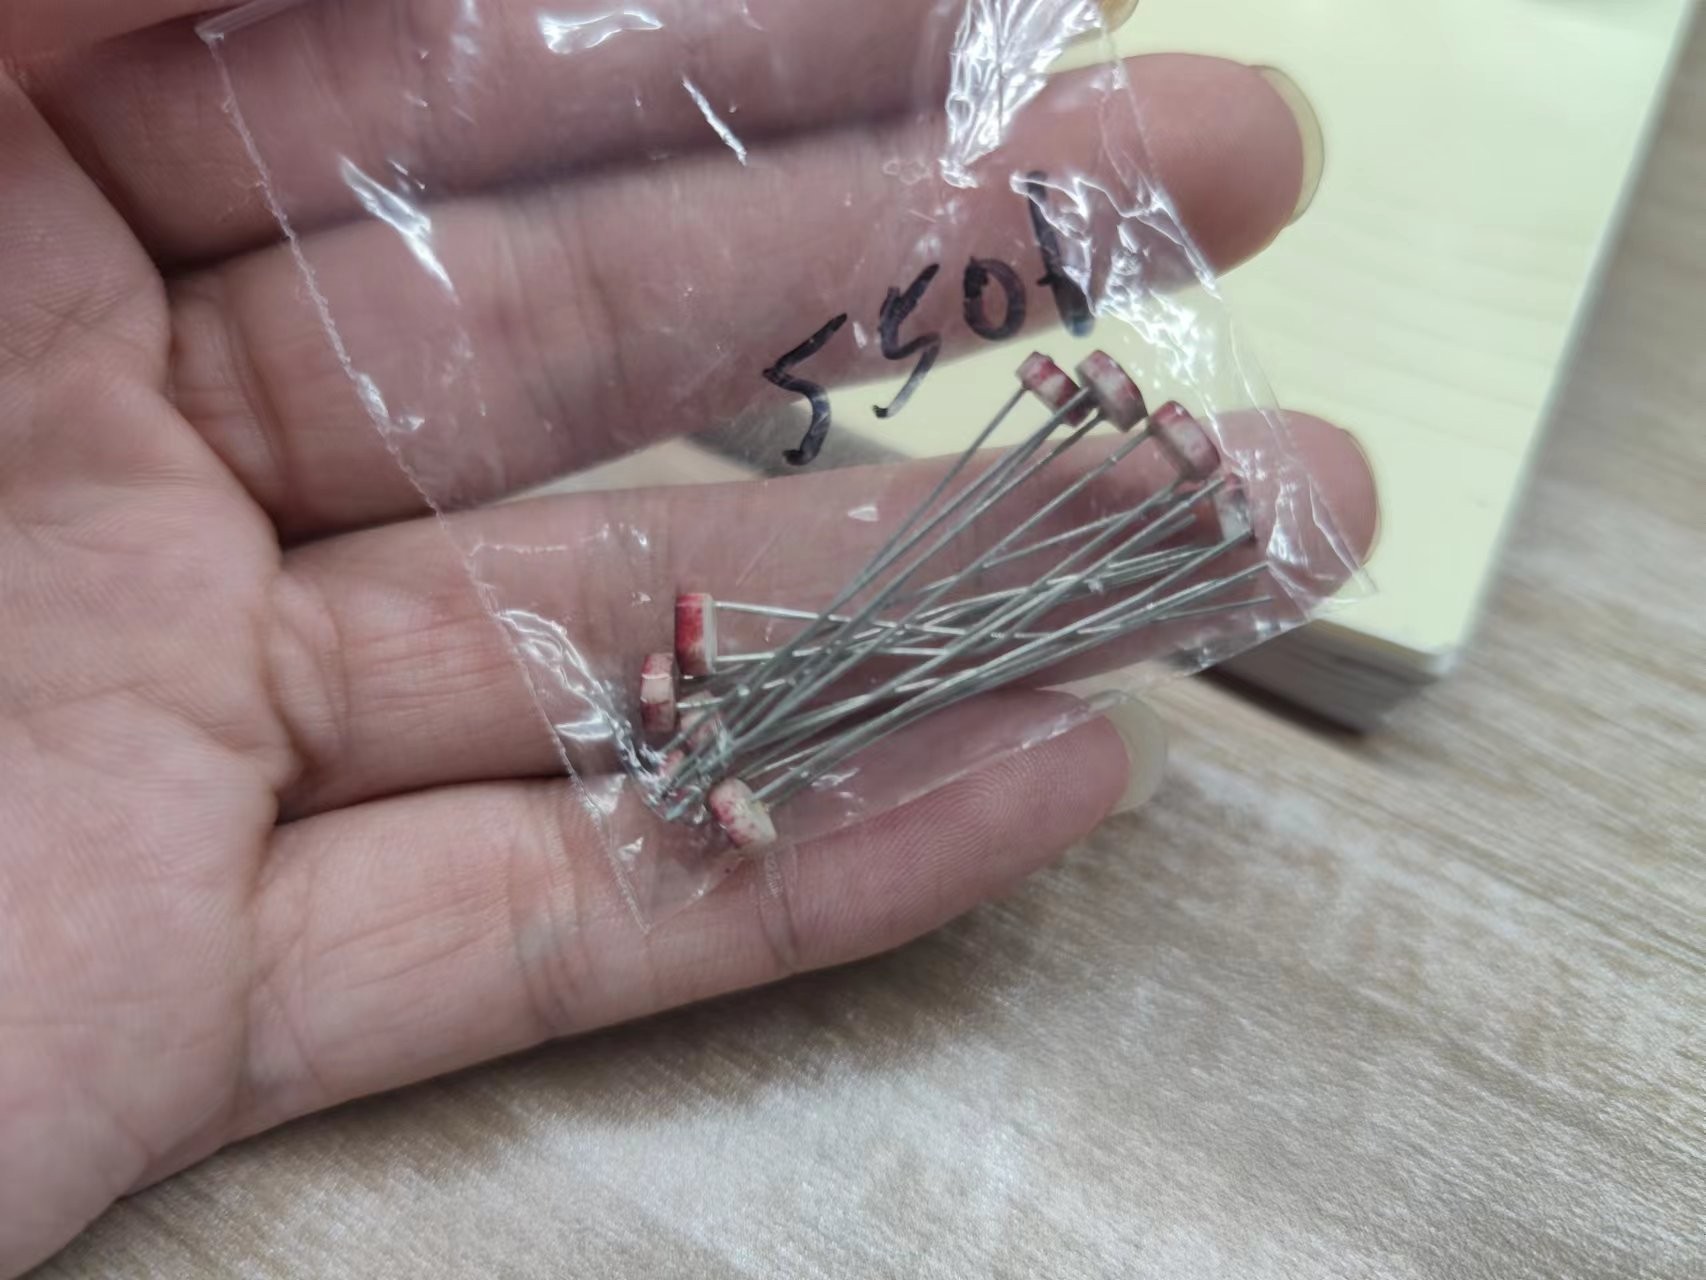
Result:
- I soldered the yellow line and the black line in the shutter cable together, then soldered them to the negative pole of the cable with the XH2.54 interface, and soldered the red one directly to the cable with the XH2.54 interface. The positive terminal of the interface cable.
- I'm lucky, the GL5506 is all I need. Testing passed and it can reach my goal.
Finally:
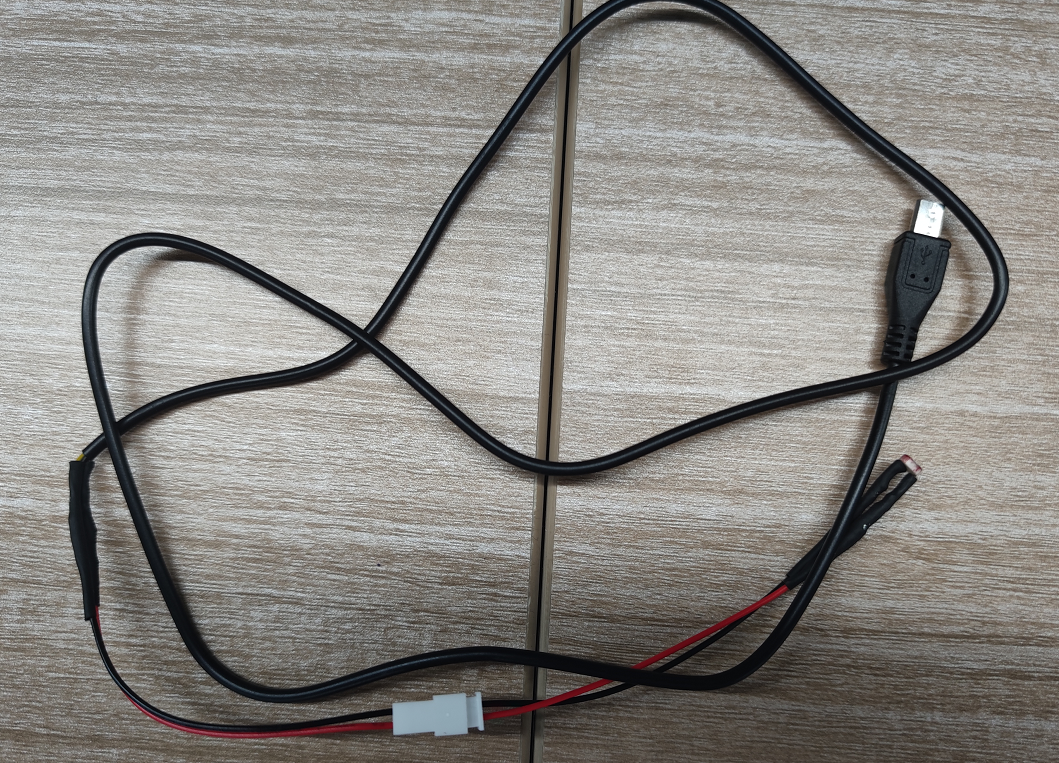
The following may help you:
Please set your camera to manual mode, with constant aperture, automatic white balance, shutter speed 1/30s or higher, and manual focus. Then put your sensor into the bottom of the printer.
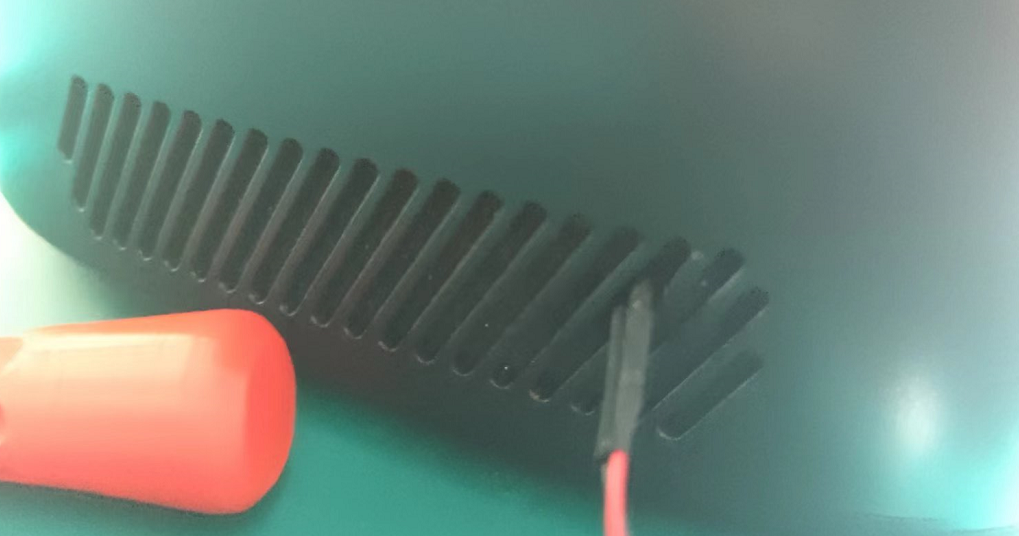
You may need to use a dummy battery to power your camera to complete time-lapse photography (if your camera supports a USB-C power supply, then you don't need to use this thing)
You need to understand how the clip software imports pictures in sequences mode, maybe you can refer to this:
https://www.youtube.com/watch?v=zp7NI72ZdBQ
Please put your printer in a place that will not be affected by outside light, this will help improve the quality of your final video
Please don't let a strong light irradiate your printer's tank, or you may end up with some messes of resin that is not fully cured. You can add a soft light and keep it out of the printer's tank.
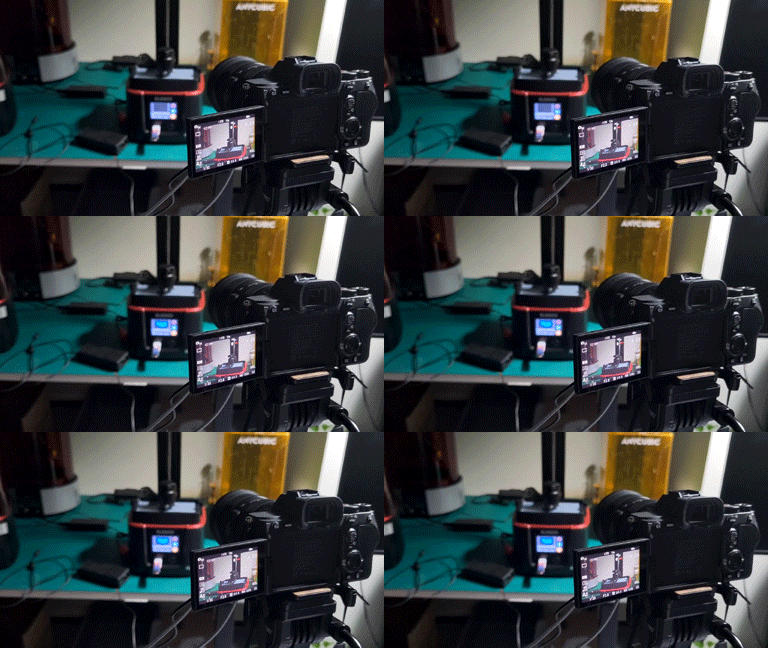
Well, it might be a bit complicated, to be honest, but please be patient reading. If you have any new ideas or questions, please reply below this thread, I will read it carefully and reply in time (if I am not busy). Also, good luck~
At last, here is final video for reference:
Resin Timelapse Simple